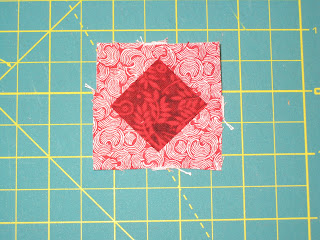
I've been thinking of doing a series of building blocks type tutorials for a while now.
I'll be doing mini-tutorials on different types of blocks that are typically pieces in larger more complex blocks.
I'm starting off with the Square-in-a-Square. There are two ways to make this one. The first one I call the squares method. (If anyone knows the real name, please let me know.)
I generally use this method if the measurement "C" below does not work out to an 1/8" measurement. It is a little wasteful with fabric, but has its uses. The line diagram below shows a square-in-a-square block with the lines being the finished size.
For the inner diamond, (Dark red in the picture below) cut a square that is A + 1/2" by A + 1/2".
For the outer edges, (Lighter red in the picture below) cut 4 squares that are B + 1/2" by B + 1/2".
Place two squares on opposite sides (see the picture below) and sew along the drawn lines. If you can, sew one thread beside the line towards the outer edge. This helps to give you a little room when trimming the finished block and makes your points sharper.
Take your ruler and rotary cutter and trim 1/4" from your sewing line.
Take your ruler and rotary cutter and trim 1/4" from your sewing line.
Then press. I press towards the outside, even if the outer triangles are the lighter fabric. This helps make the block lay flatter.


2 comments:
Thank you for all the great tutorials!
Fabulous method! Thanks
Post a Comment