So, I thought I'd do a little tutorial.
You start off by attaching the first piece the the centre block.
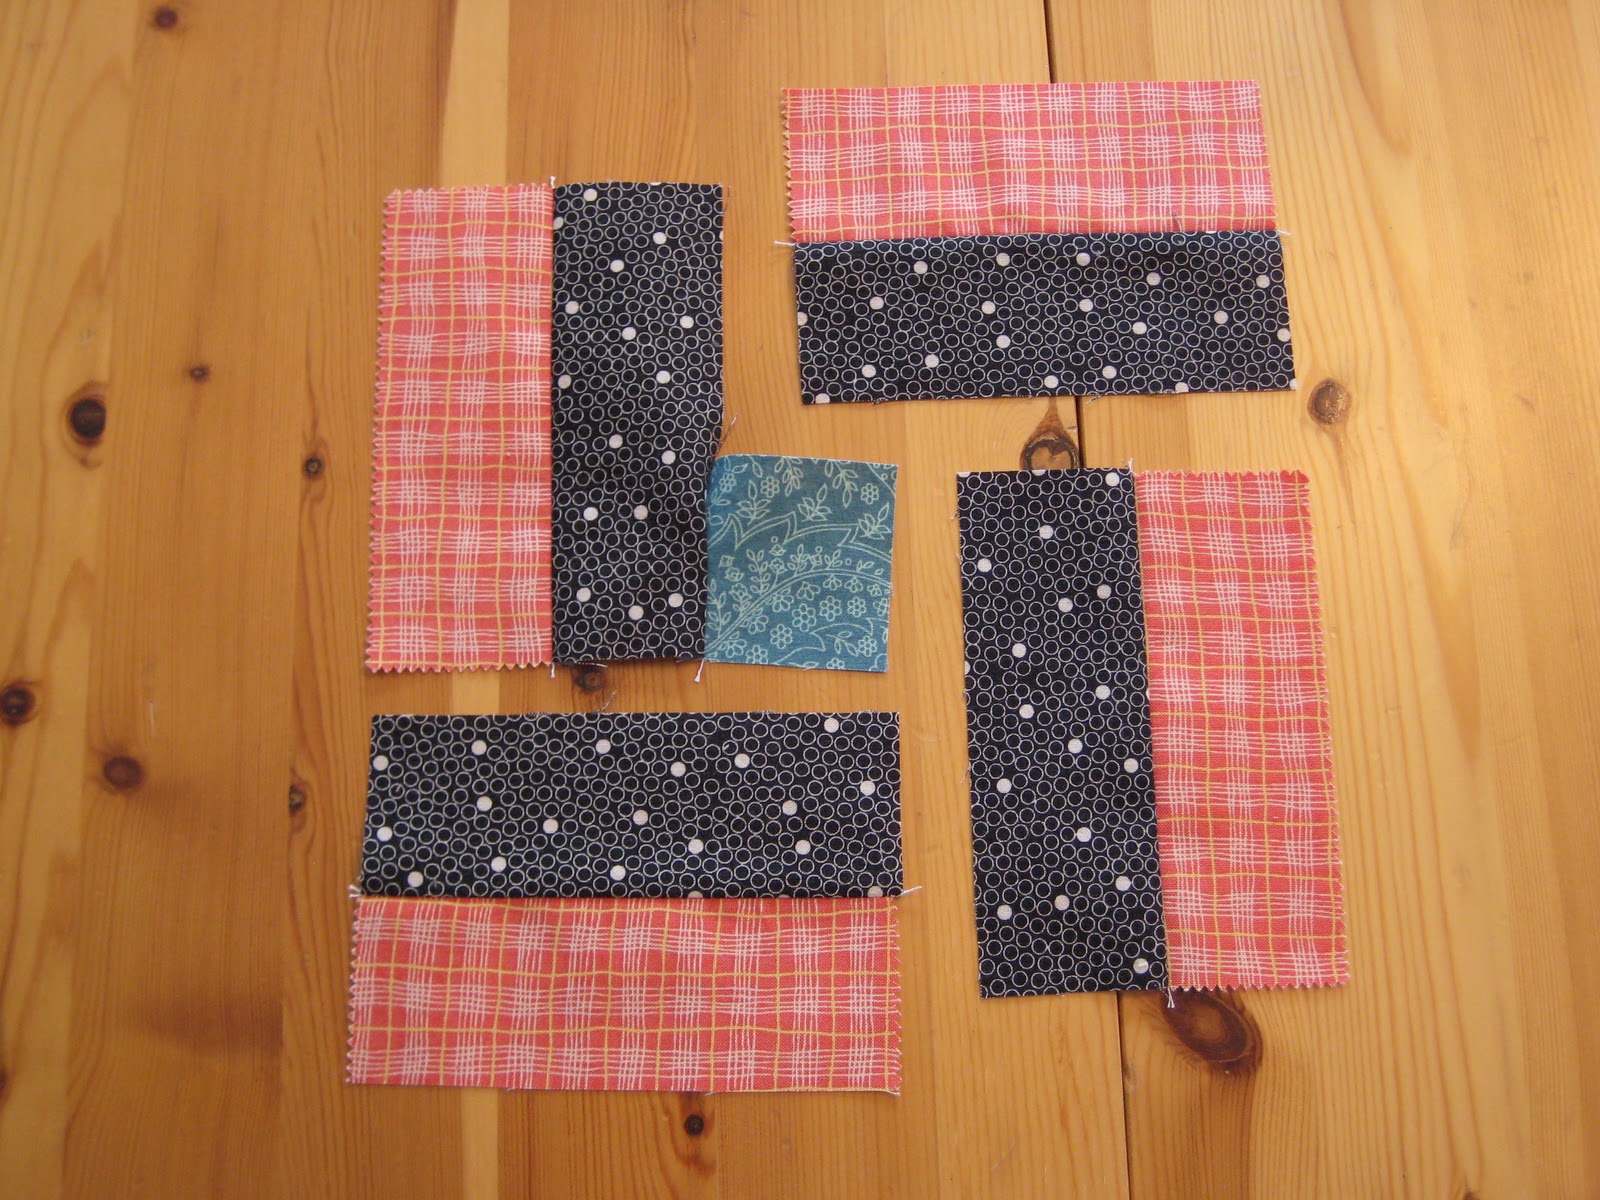
Leaving part of the seam undone. I usually do not bother back stitching with this step.

The next piece is added just as you always would.
Same with the next piece.

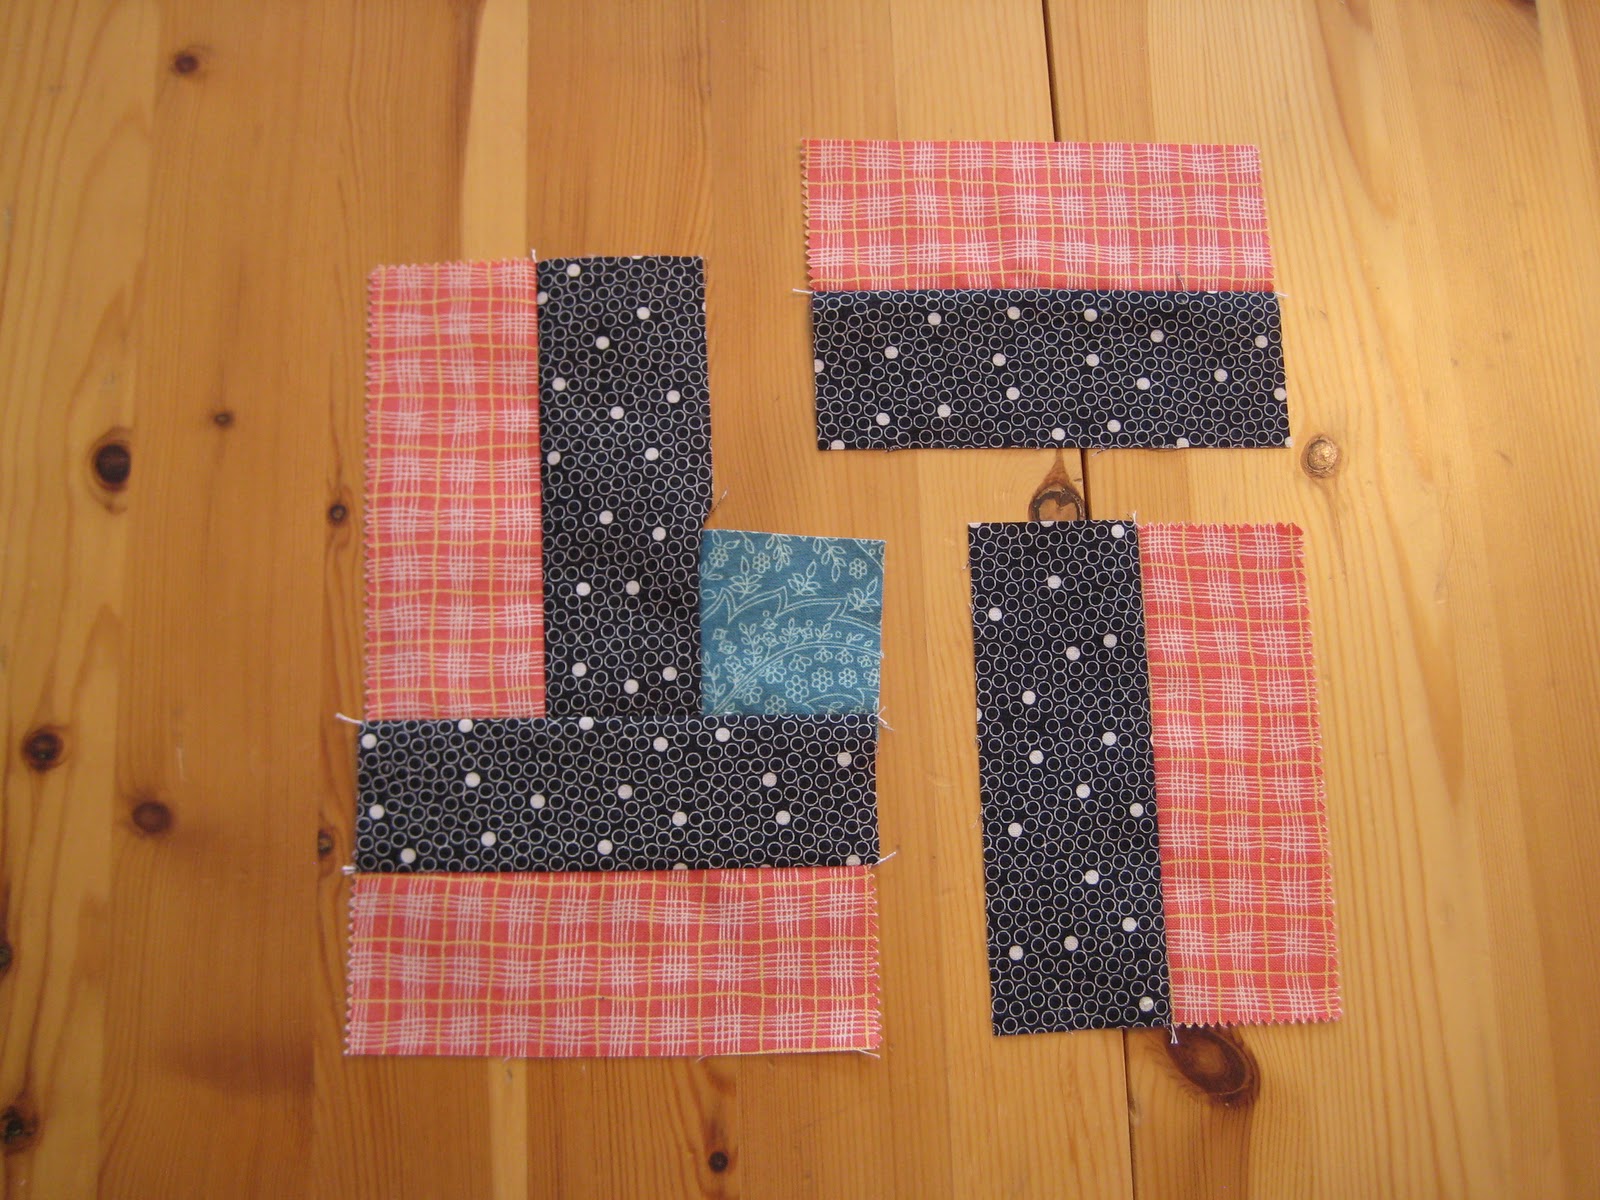
And with the next piece. You'll now have something that looks like this. And now you see why we left part of that seam un-sewn.

Now you finish that last seam. I usually don't bother with pining but have done that here so you can see how I fold the block for that last seam. This is the seam when I backstitch to make sure nothing falls apart. When I do the backstitching I overlap it with that first seam I've sewn. This helps reduce some of the bulk in the seam but still secures everything.

And here is the sample block all pressed and ready to go.


3 comments:
You sure do make it look easy.
That looks simple enough :0) You do good step by step photos! Must be all the practice :0)
This is one of the first quilt patterns I made bed-size, way before the internet was even a gleam in someone's eye. I did set-in seams in all my blocks. This way is SOOOO much better!
Post a Comment